
Thinking about replacing your rain-splattered afternoons with an automatic sprinkler system you can install yourself?


Overview of the Rain Bird 32ETI DIY Self Install In-Ground Automatic Sprinkler System Kit
This kit is designed so you can automate your watering without hiring a contractor. You attach it to an outside faucet, and the components are sized to cover medium lawns, so you can have reliable, automatic irrigation that frees you from dragging hoses and manual adjustments.
The Rain Bird 32ETI is built for homeowners who want a neat, retractable sprinkler system and can spend an afternoon installing it. It’s meant for lawns roughly between 1,000 and 3,000 square feet and works best with average residential water pressure.
What the kit includes
Below is a breakdown of the components you’ll find in the kit and what they do. Knowing exactly what’s included helps you plan the installation and purchase any extra materials or tools.
| Component | Quantity | Purpose |
|---|---|---|
| Pop-up spray heads | 6–? (varies by kit configuration) | Retract for mowing and pop up to spray when watering |
| 3/4″ adapter (hose connection) | 1 | Attaches system to your outside faucet |
| PVC tubing and fittings | Assorted (length varies) | Carries water from faucet to sprinkler heads |
| Valve manifold (or zone valve) | 1 | Controls water flow to the zone(s) in the kit |
| Backflow preventer / anti-siphon device | 1 | Prevents contaminated water from re-entering supply |
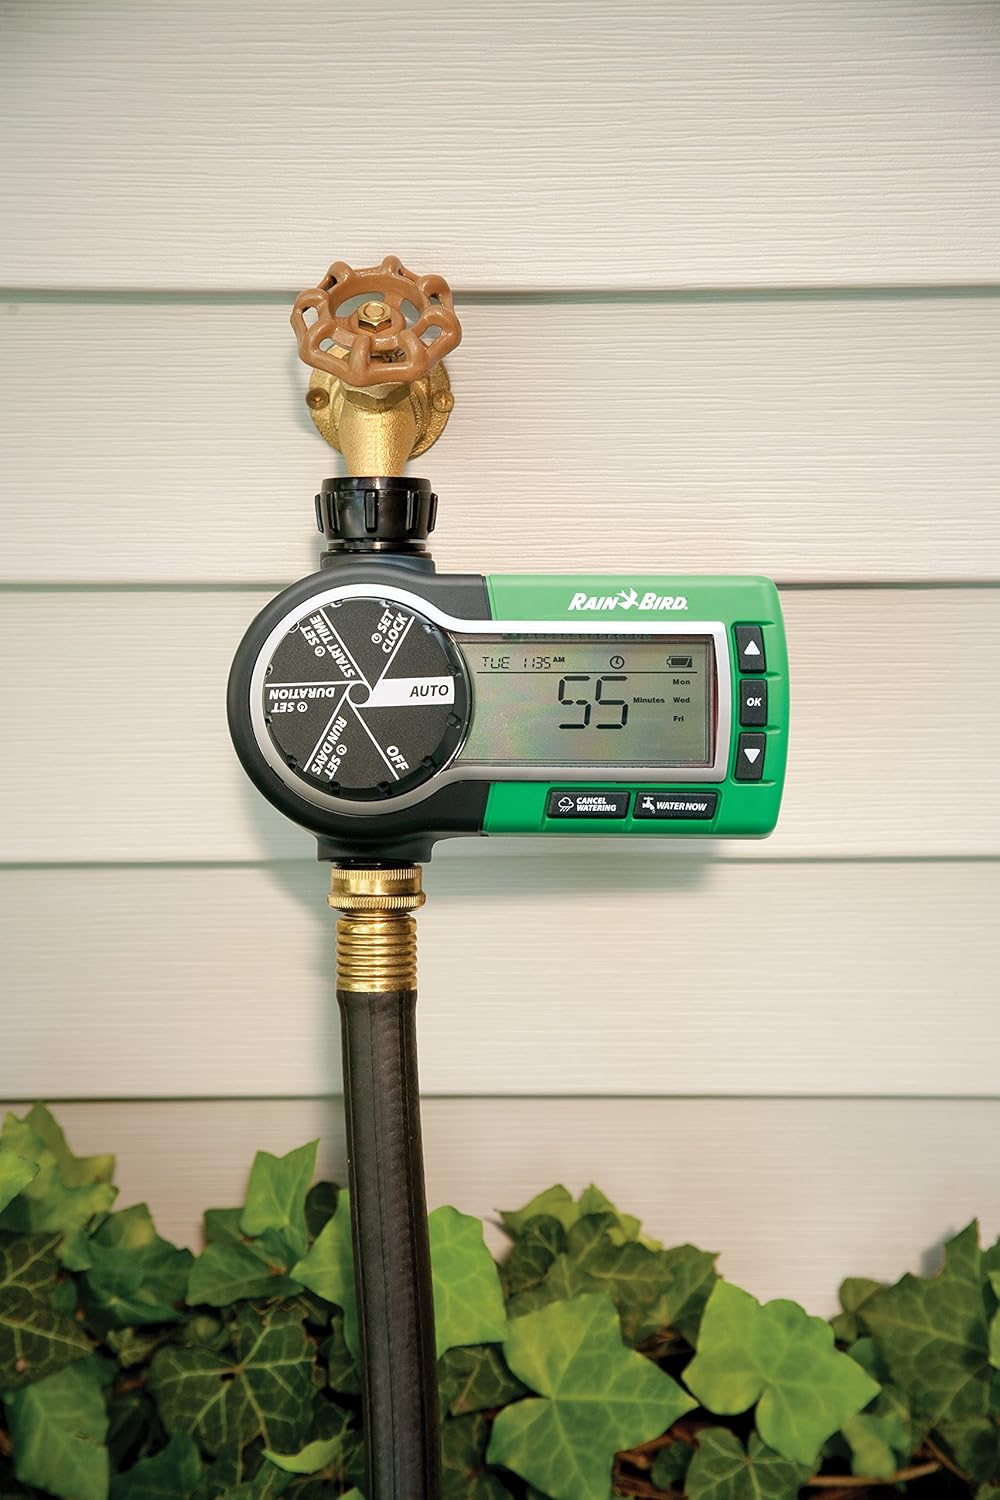
| Controller/timer | 1 | Automates watering schedule |
| Stakes/installation hardware | Assorted | Hold risers during planting and secure components |
| Installation manual | 1 | Step-by-step instructions and diagrams |
Note: Exact counts and parts can vary by retailer and kit revision. If you plan for extras (heads, fittings, or pipe), confirm what the specific box contains before starting.
Key features
You’ll notice the kit promises simple installation, automatic seasonal watering, and a clean look when the heads are retracted. The system is aimed at homeowners who value convenience and a tidy lawn without permanent visible hardware.
Highlights include:
- Automatic watering for the whole season — you schedule it and it runs.
- Eliminates constant moving of hoses and temporary sprinklers.
- Attaches to an outside faucet, allowing an easier DIY route.
- Pop-up sprinklers retract for a neat lawn and mowing ease.
- Coverage suited to medium lawns, approximately 1,000–3,000 sq. ft. at 45–75 psi.
Rain Bird 32ETI DIY Self Install In-Ground Automatic Sprinkler System Kit
Installation — What to expect
Installing this kit is supposed to be doable in one afternoon if you prepare properly and your lawn layout is straightforward. The instructions guide you through trenching shallow lines, connecting heads, and setting up the controller at the faucet.
You’ll be working with plumbing connections and shallow digging, so basic DIY comfort with tools and following directions will make the process go smoothly. Read the manual first and lay out your plan before you start cutting turf.
Tools you need
You’ll save time and frustration if you gather the right tools up front. Most homeowners already have many of these on hand.
- Shovel or trenching shovel — for cutting shallow trenches for pipe.
- Tape measure and marking spray — to map head locations and spacing.
- Screwdrivers and adjustable wrench — for fittings and controller.
- Utility knife or PVC cutter — to cut tubing cleanly.
- Teflon tape — for threaded connections to avoid leaks.
- Level or small shovel for leveling valve box area.
- Wheelbarrow or tarp — for sod while trenching.
- Optional: string and stakes for straight layout lines, pipe glue if using PVC.
If you don’t own a trencher and your lawn has long distances of piping, you might consider renting a walk-behind trencher, but for most medium yards shallow hand trenches are manageable.
Step-by-step installation
You’ll follow these broad steps to get the system operational. The kit manual lays out specifics and diagrams, but this sequence helps you visualize the process.
- Plan your layout: mark spray head locations, valve box placement, and piping routes. Make sure head spacing matches spray radius and adjusts for overlaps.
- Turn off the water and attach the kit’s faucet adapter and backflow preventer according to the manual. Use Teflon tape on threaded connections.
- Install the valve manifold and controller near the faucet. Position the valve box in a level, accessible spot.
- Lay out and cut tubing or PVC to connect the manifold to each sprinkler head. Place heads where you marked them.
- Dig shallow trenches (typically 4–8 inches) for the pipes, slope slightly away from house if needed.
- Connect heads and fittings, then position heads at proper heights and align spray patterns.
- Backfill trenches partially, leaving valve box accessible; do not compact soil on top of heads until adjustments are done.
- Turn the system on and run tests for each zone. Adjust head spray distances and check for leaks.
- Set the controller schedule, then finalize backfilling and replace sod.
If something feels unclear, stop and consult the manual or an online assembly video specific to the Rain Bird 32ETI kit.
Estimated time and difficulty
You should budget an afternoon to a full weekend depending on yard complexity, soil type, and whether you’re working alone. If you’re handy and your lawn is compact, expect 4–8 hours. If you encounter rocky soil, obstructions, or multiple zones, plan longer.
Skill required: low to moderate. If you can use basic hand tools and follow straightforward plumbing instructions, you can complete this. If you’re unsure about local plumbing codes or backflow prevention requirements, check local regulations — some areas require a certified backflow device installation.

Performance and coverage
This kit is designed to cover medium-sized lawns between 1,000 and 3,000 square feet when you have typical residential water pressure (45–75 psi). You’ll get pop-up spray heads that provide consistent, even coverage when placed correctly.
Performance depends heavily on correct layout, proper spacing, and the available pressure and flow rate at your faucet. With good planning, you’ll achieve uniform watering and a neat, retractable appearance.
Water pressure and flow considerations
The kit works best within the 45–75 psi range. If your pressure is below that, the spray throw and uniformity will drop; if it’s above, you might experience overspray or misting which wastes water.
You should measure both pressure (psi) and flow (gpm) at the faucet before finalizing head count or layout. If your flow is limited, you may need to split the yard into smaller zones and run them sequentially or reduce the number of heads per zone.
Tips:
- Use a pressure gauge on your faucet to confirm psi.
- Determine gallons per minute by timing how long to fill a known-volume container (e.g., a 5-gallon bucket).
- Adjust head types and spacing to match your measured flow.
Zone planning and layout tips
Good head placement and zone planning are where you’ll win or lose your irrigation uniformity. Group heads by flow requirements and avoid running too many heads off a single valve if your flow is limited.
- Stagger spray patterns to reduce dry spots and overlaps.
- Use head-to-head coverage principle: each head should reach the next head’s location for even watering.
- Keep sprinkler heads away from sidewalks and driveways to prevent water waste.
- For slopes, place heads to avoid runoff — shorter run times more frequently can reduce runoff.
A careful layout upfront saves you time adjusting heads later and keeps your water use efficient.
Water efficiency and run-time settings
One key advantage of an automatic system is consistent, controlled run times. You control how long and how often the system waters, which means you can set it for early morning runs and avoid evaporation or run-off.
Set run times based on soil type (sandy soils need shorter, more frequent cycles; clay soils need longer, less frequent cycles), plant type, and slope. Use shorter cycles with soak times in between to allow water to infiltrate and avoid runoff.
Tips to save water
You can use these practical adjustments to keep water use efficient and effective:
- Water early in the morning when wind and evaporation are minimal.
- Split watering into multiple shorter cycles to avoid runoff on slopes.
- Group zones by plant water needs — turf on one zone, flower beds on another.
- Check heads monthly and after lawn care to prevent misaligned or clogged heads.
- Consider a rain sensor or controller with smart capabilities to skip cycles when it’s wet.
- Adjust schedule seasonally — less in cooler months, more in peak heat.
Implementing these practices will reduce waste and keep your lawn healthier.

Maintenance and seasonal care
Regular maintenance keeps the system running reliably year after year. You’ll check heads, clear debris, and winterize in colder climates.
Monthly checks are a good habit: run each zone and inspect for leaks, misaligned heads, and proper pop-up/retract function. Clean or replace clogged nozzles to maintain uniform spray.
Winterizing and long-term care
If you live in a freeze-prone area, winterizing is critical to prevent cracked pipes and broken heads. You can either blow out the system with compressed air or drain and shut off the water at the faucet and remove backflow prevention devices for winter storage if recommended by local plumbing rules.
Routine tasks:
- Drain or blow out lines before the first freeze.
- Store removable backflow/anti-siphon devices inside if instructed.
- Replace worn or damaged heads and seals as needed.
- Check the controller battery (if applicable) and settings each season.
Proper seasonal care extends the life of your installation and prevents costly repairs.
Troubleshooting common problems
You’ll likely run into a few issues that are easy to fix once you know what to look for. Here are common problems and how you can address them.
- Low spray distance: check for clogged nozzles, low pressure at faucet, or closed zone valve.
- Pop-up heads not retracting: clean debris from head, check internal springs, or replace the head if damaged.
- Uneven coverage: re-check head spacing and adjust nozzles or add an extra head to eliminate dry spots.
- Leaks at connections: tighten fittings, use Teflon tape, or replace cracked fittings.
- Valve not opening: ensure faucet adapter is on and water is on to manifold; check solenoid wiring on controller.
If a problem persists after basic fixes, check the manual or contact Rain Bird support for guidance.
Pros and cons
You’ll want a balanced picture before deciding to install this kit in your yard. Here are the primary advantages and limitations based on typical user experience.
Pros:
- DIY-friendly design makes installation accessible to most homeowners.
- Attaches to your outside faucet — no need to tap into main water lines.
- Retractable heads give a clean look and simplify mowing.
- Covers a useful range for small-to-medium lawns.
- Saves time — you won’t move hoses or temporary sprinklers.
Cons:
- Limited coverage compared to a fully professional multi-zone system.
- Performance depends on your water pressure and flow.
- May require zoning adjustments or extra parts for complex yards.
- In freeze-prone areas, additional winterizing steps are necessary.
- The kit’s head count and parts vary; you might need supplemental components.
Weighing these points helps you decide whether this kit is the right compromise between convenience, cost, and coverage.

Comparison to professional-installed systems and other DIY kits
If you’re deciding between this DIY kit and a professional system, think about cost, customization, and long-term flexibility. Professional systems often have buried mainlines, larger valve assemblies, and custom-designed zones based on flow tests.
You’ll save money with the Rain Bird 32ETI but may trade off some custom features like multiple dedicated zones, large backflow assemblies, or integration with underground mains. Other DIY kits may offer different head types or more heads; compare package contents carefully.
When you should choose this kit
You should consider this kit if:
- Your lawn is within the 1,000–3,000 sq. ft. range.
- You want a tidy, retractable look with automatic scheduling.
- You prefer an afternoon DIY project instead of hiring a contractor.
- Your water pressure and flow are within the recommended range.
- You want an affordable way to automate watering without major plumbing work.
This is an especially good choice if you’re comfortable with basic tools and want quick improvements to your lawn care routine.
When to consider alternatives
You might look for professional installation or a different kit if:
- Your property is larger or has complex zoning needs.
- You need connection to underground mains or multiple water sources.
- Local codes require certified backflow installation by a plumber.
- You want smart controller integration with weather-based adjustments out of the box.
- You have very low or very high water pressure that requires more sophisticated pressure regulation.
In those cases, a custom design or a higher-tier kit might be worth the extra cost.
Cost estimate and value
The kit itself tends to be priced affordably compared to a professional system. You should factor in a few additional items and potential extra heads or piping. Typical out-of-pocket costs you should plan for:
- Kit purchase price: depends on retailer and promotions.
- Extra PVC or tubing: $10–$50 depending on yard layout.
- Additional spray heads or nozzles: $5–$20 per head.
- Rental of a trencher (optional): $50–$150/day.
- Misc small parts (tees, connectors, Teflon tape): $10–$30.
A rough installed cost for DIY: kit + accessories typically ranges from a modest total for small lawns to a few hundred dollars for added components. A professional installation for the same area would often cost several times more due to labor, permitting, and custom work.
Long-term savings
You’ll save in time by automating watering and likely in water usage if you tune the system properly. Automated, accurate run times reduce wasted overwatering and avoid scheduling mistakes. Over several years, you’ll recover the kit cost through convenience and potentially lower water bills if you adopt efficient settings.
Frequently asked questions
You probably have a few practical questions before starting. Here are answers to common concerns.
Q: Can you connect this kit to a city water supply faucet?
A: Yes, the kit is designed to attach to a standard outdoor faucet. Make sure your faucet provides adequate flow and pressure for the kit’s recommended range.
Q: How many sprinkler heads does the kit include?
A: The exact number can vary by retailer and kit revision. Check the product box or listing to confirm head count before purchasing extra parts.
Q: Do you need special permits?
A: Generally no, but check local codes for backflow preventer requirements. Some municipalities require certified devices or professional installation for permanent irrigation systems.
Q: Can you expand the system later?
A: You can add heads and tubing, but expanding significantly beyond the kit’s design may require additional valves and a reassessment of water flow and pressure.
Q: Is it safe to install yourself?
A: Yes, if you follow instructions and have basic DIY skills. If local regulations require a certified backflow device installed by a professional, follow those rules.
Q: What about winterizing?
A: In freeze-prone climates you must drain or blow out the system to prevent freezing damage. The manual covers recommended winterization procedures.
Final verdict
If you’re looking to automate watering for a small-to-medium lawn without calling a contractor, the Rain Bird 32ETI DIY Self Install In-Ground Automatic Sprinkler System Kit is a compelling option. It provides a neat, retractable system that attaches to your outdoor faucet, reducing the hassles of hoses and temporary sprinklers.
You’ll get good value if your water pressure and flow are within the recommended range and your yard layout is straightforward. With basic tools, a few hours, and attention to layout and maintenance, you can establish an efficient, tidy automatic irrigation system that saves you time and helps keep your lawn healthy.

Disclosure: As an Amazon Associate, I earn from qualifying purchases.